How to Protect Floors When Painting: Best Covers & Guide
Painting should improve a room, not leave floors stained or scratched. How to protect floors when painting depends on the finish, paint type, and foot traffic.
Quick Answer: For most finished wood floors, use a clean, non-staining, breathable protective paper or purpose-made floor protection board, with seams secured to the covering rather than the flooring. Canvas suits light tasks; heavy-duty boards better protect areas around ladders. Avoid relying on thin plastic alone, especially on wood: it can slip, tear, and trap moisture
Best Floor Covers for Painting: What Works for Each Floor Type?
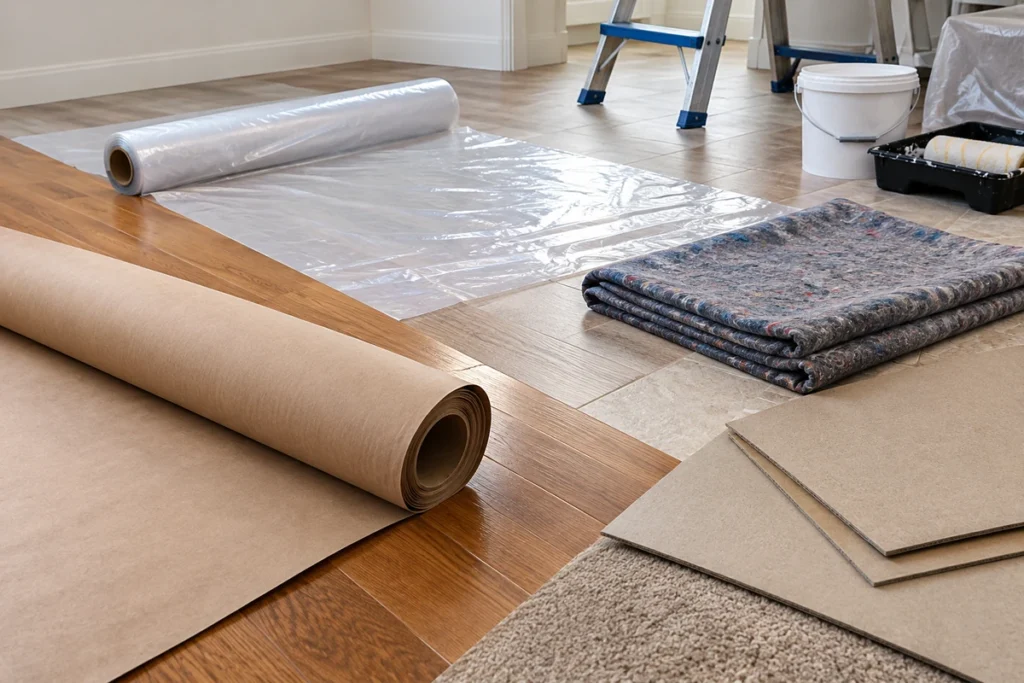
Brief comparison of protective materials: Canvas is reusable and absorbs small drips, but paint can soak through if the fabric becomes saturated. Rosin or builder’s paper is inexpensive and easy to cut, yet ordinary paper may not resist larger spills, and some products can transfer dye. Purpose-made protective boards are stronger and often spill-resistant, though resistance is not the same as complete waterproofing.
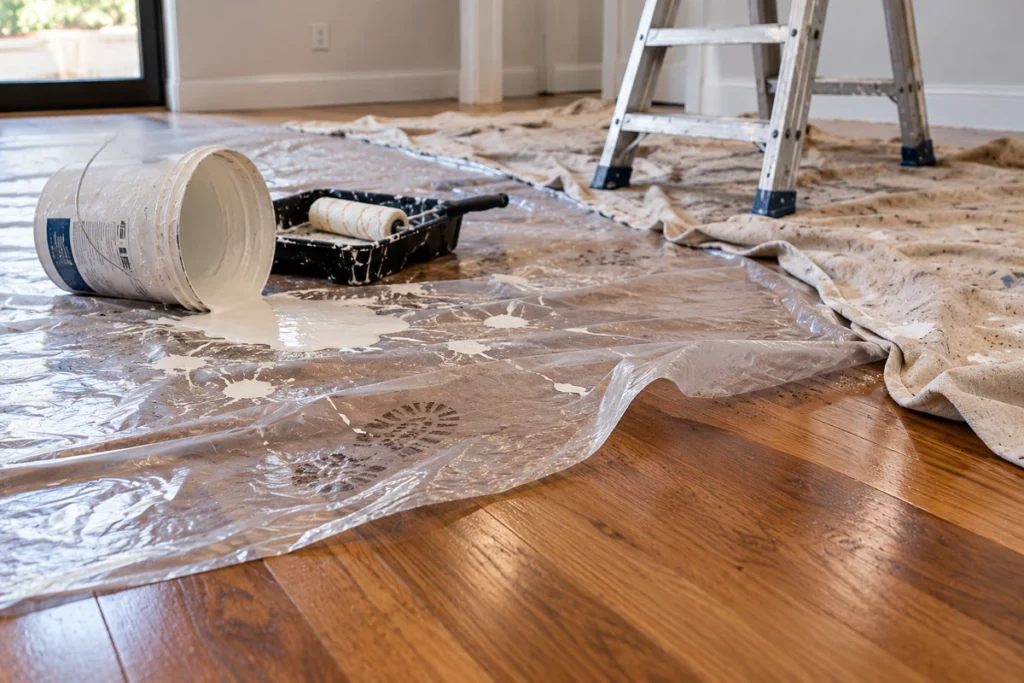
Plastic works over furniture but makes a poor standalone painting floor protector: it slips and may trap liquid. Check the compatibility of multilayer products
How to Cover Floors Before Painting: 7 Practical Steps
To cover floors when painting, prepare the surface and secure coverings without damaging the finish.
1. Clear the Room and Inspect the Flooring
Remove furniture, rugs, and loose objects. Check for raised boards, scratches, or damp patches. Photograph existing damage before starting.
2. Clean and Dry the Floor
Remove sand, screws, and grit that can scratch the surface beneath a cover. Clean with a suitable product and let the floor dry completely.
3. Choose and Prepare the Floor Covering
Match the material to the job: paper for carefully managed light painting, spill-resistant board for busy work areas, and carpet-specific protection for textile floors. Read the covering manufacturer’s compatibility and dwell-time guidance. Measure the room and cut sections on a sacrificial cutting surface, not directly against the floor.
4. Lay the Protective Covering Flat
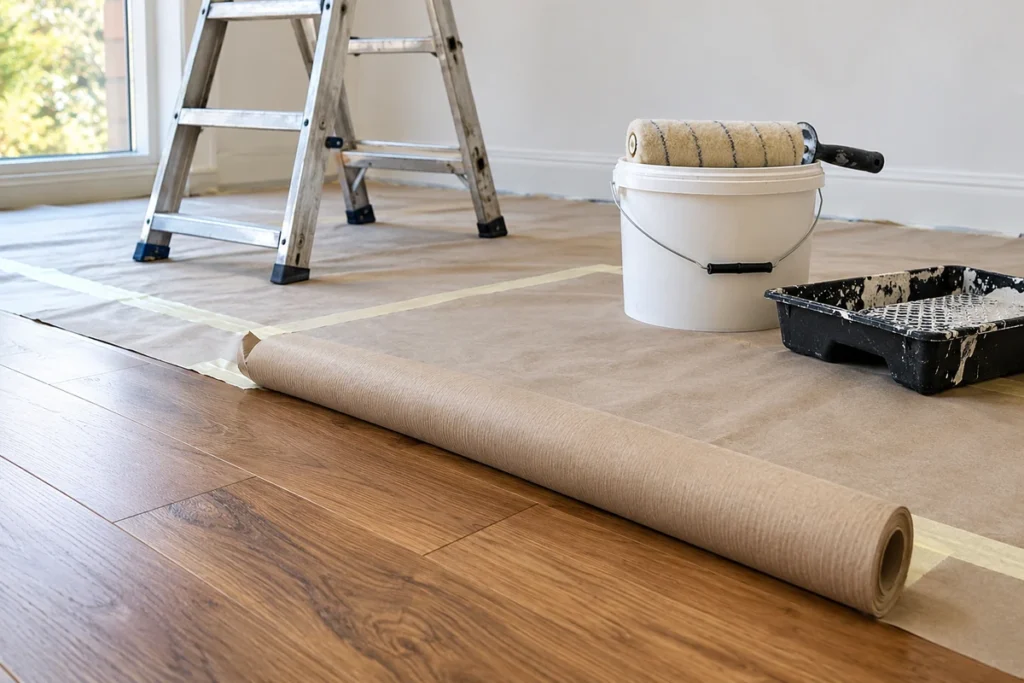
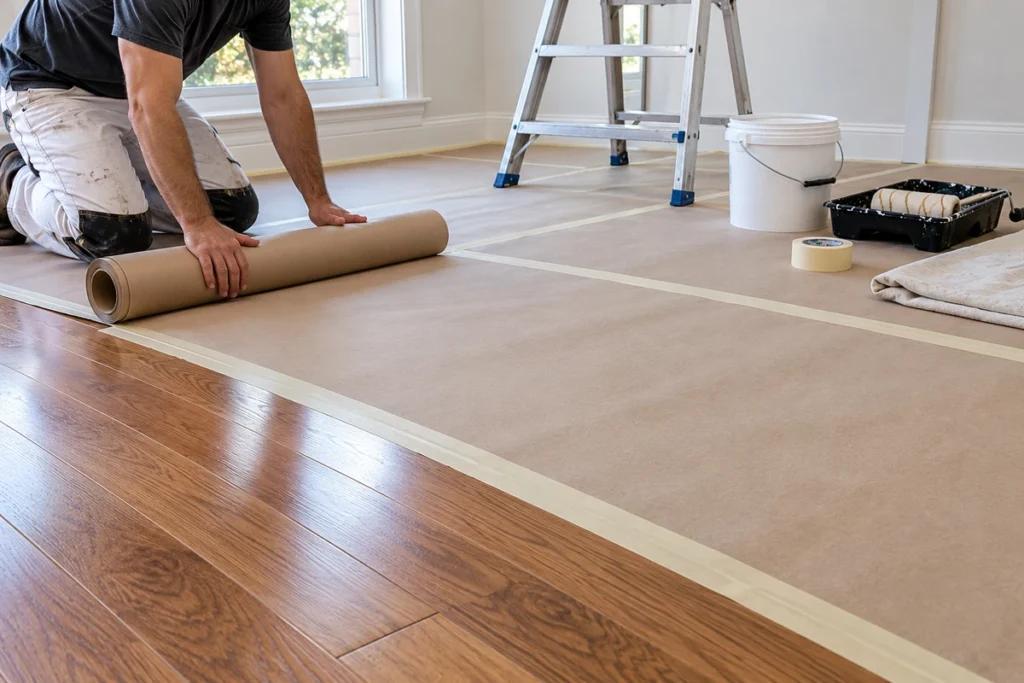
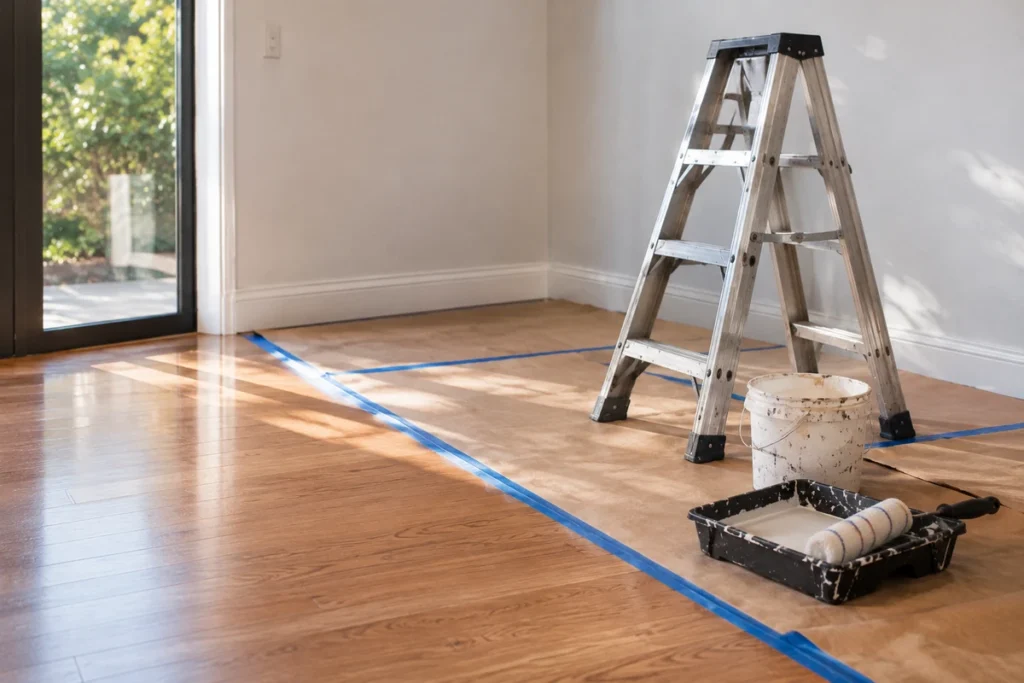
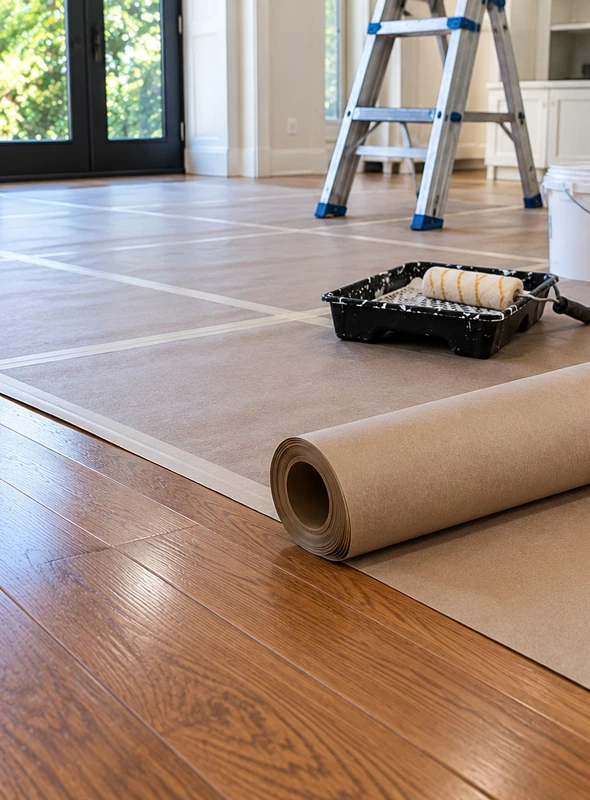
Start along one wall and unroll the material without wrinkles or curled edges. Follow the manufacturer’s instructions for which side faces upward. Extend coverage toward skirting boards and underneath expected paint-drip zones, including the area beneath rollers, trays, and ladders.
5. Overlap and Secure the Seams
Overlap adjoining sheets as instructed by their manufacturer, then tape the sheets to one another. Secure edges to suitable trim where possible rather than applying tape to finished flooring. Check every seam: even a narrow opening can channel spilled paint underneath.
6. Protect High-Traffic Areas and Equipment
Add sturdier protection under ladders, paint buckets, and frequently used walkways. Keep ladder feet stable on a flat, non-slip surface; never set them on loose plastic. Wipe splashes from the cover promptly, replace soaked sections, and inspect the protection as work progresses.
7. Remove the Protection and Inspect the Floor
Once the paint is dry enough not to smear, roll protection inward without dragging it. Inspect for moisture and spills, then clean with approved products
How to Protect Hardwood Floors from Paint
Finished solid hardwood, engineered wood, and products marketed as semi solid wood need particular attention because coatings, adhesives, and trapped moisture can affect their appearance. For wooden flooring in European flooring ranges, follow finish-specific care instructions rather than assuming similar products tolerate the same tape.
Why Breathable Floor Protection Matters
Wood-based floors respond to their surroundings. Non-breathable coverings can trap dampness or condensation and cause finish problems, particularly where indoor conditions vary, as in air-conditioned UAE homes.
Choose a protective material explicitly approved for finished wood and, when appropriate, designed to allow vapor to escape. Breathability does not guarantee that paint or water cannot pass through: look separately for spill resistance, and remove spills promptly. Recently installed or refinished floors may need additional curing time before any covering is applied.
Is Painter’s Tape Safe on Wood Floors?
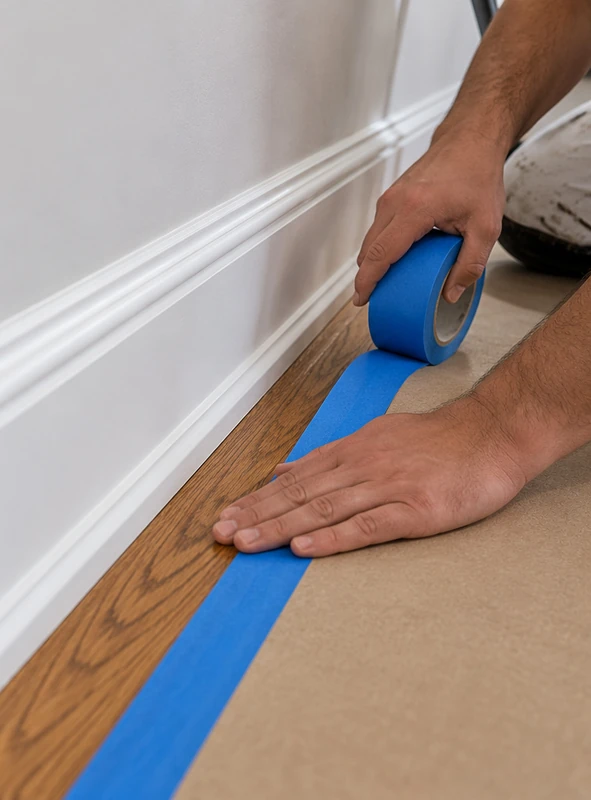
Not every painter’s tape is safe on a finished floor. Some delicate-surface tapes are rated for wood floors, but compatibility varies by coating and finish age. Ordinary masking tape and aggressive construction seam tapes can leave residue or pull away finish.
Tape the covering to suitable skirting boards or join sheets to each other. If contact with the flooring is unavoidable, first confirm manufacturer approval, test a hidden area, and respect removal deadlines. For engineered flooring with a factory-applied finish, follow that product’s specific tape restrictions
Floor Protection Mistakes to Avoid During Painting
What to Do If Paint Spills on the Floor
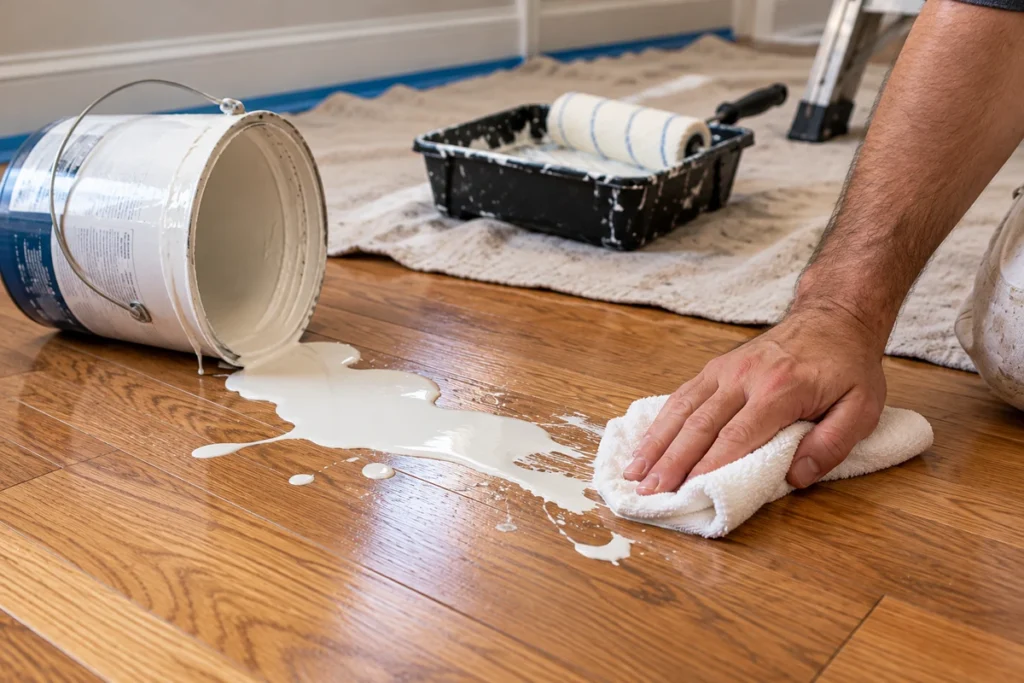
Act immediately using a method suitable for the paint and finish. Absorb spills before they seep into joints.
Fresh Water-Based Paint
Blot excess paint with a clean, absorbent cloth; avoid spreading it outward. On a sealed, manufacturer-approved surface, lift remaining residue with a slightly damp microfiber cloth, then dry immediately. Do not flood hardwood or laminate joints. For a persistent mark, use only a cleaner approved for that finish.
Oil-Based Paint
Contain the spill with dry, absorbent material and avoid rubbing. Never assume that turpentine, paint thinner, acetone, or another solvent is safe for a polyurethane, oil, or lacquer finish. Consult the paint and flooring manufacturers’ cleanup guidance; for valuable wood floors, professional assistance is safer than experimenting.
Dried Paint
Do not sand, scrape with metal, or apply a chemical stripper by default. First identify whether the paint is water-based or oil-based and check the flooring finish. A manufacturer-approved cleaning method or careful use of a plastic edge may help on some hard, sealed surfaces, but stop if the coating softens or changes appearance
Frequently Asked Questions About Floor Protection
conclusion
Good floor protection combines the right covering, clean installation, secure seams, and quick spill response. Wood floors deserve extra care because their finishes and moisture requirements differ. Afterward, return to your wood floor maintenance routine. For homeowners choosing or caring for flooring in the UAE, Greenwood can help them explore suitable wood-floor options and care considerations.