
How to Lay Engineered Hardwood Flooring, Step by Step
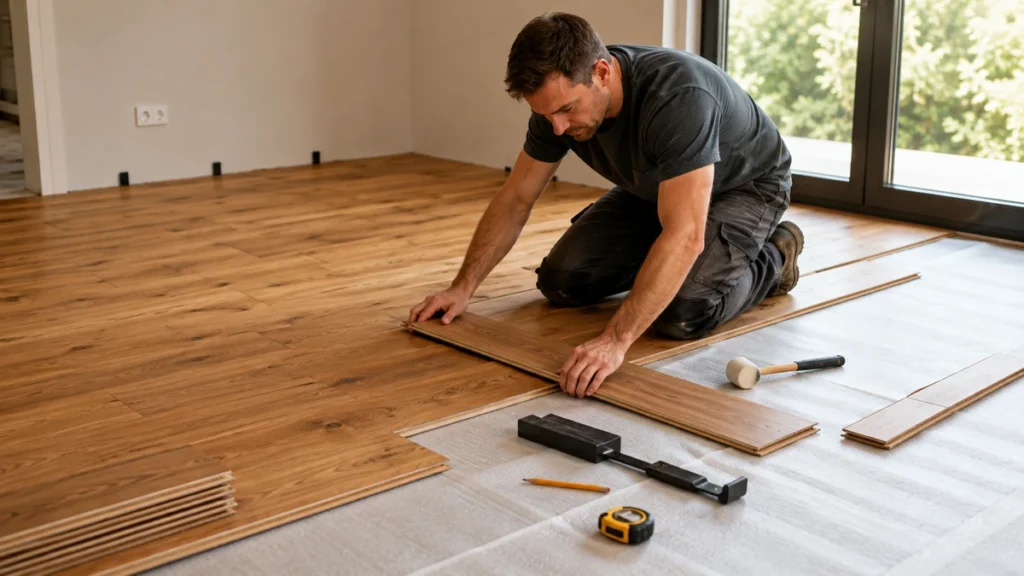
Learning how to lay engineered hardwood flooring comes down to three things: preparing the subfloor, setting out the rows accurately and preserving the required expansion space. This guide covers straight-plank engineered boards installed as a floating click-lock floor, the method most suitable for confident DIY work. In a floating installation, the boards connect to each other but are not fixed directly to the subfloor. Product instructions still take priority because locking systems, underlay requirements, acclimation guidance and expansion gaps vary. Confirm that your flooring, room and subfloor are suitable before making the first cut
Choose the Right Installation Method
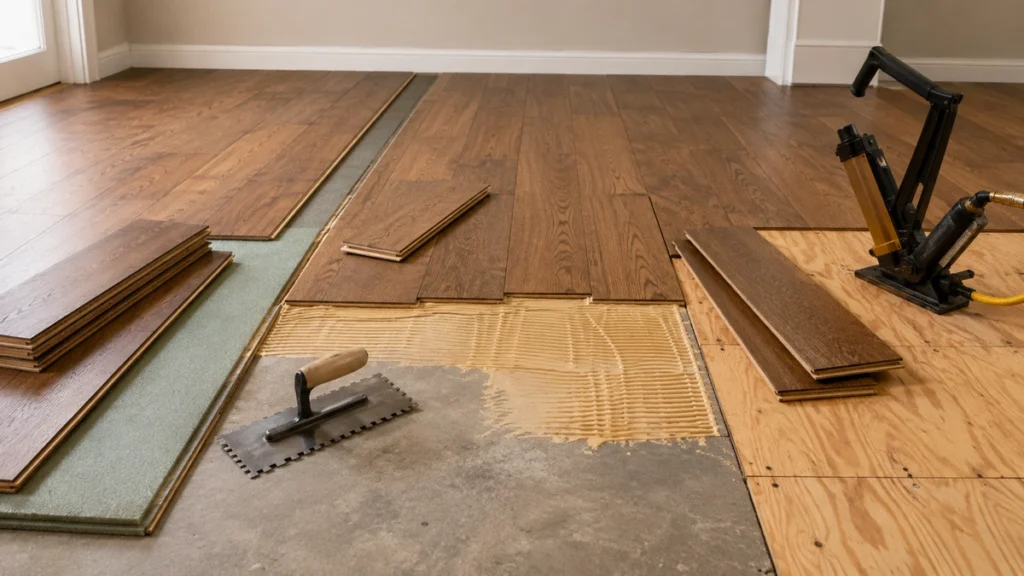
Engineered boards can be floated, glued or mechanically fixed. The correct choice depends on the joint profile, subfloor and manufacturer approval
| Method | Best suited for | Typical subfloor | Skill level | Key point |
|---|---|---|---|---|
| Floating | Approved click-lock or tongue-and-groove boards | Concrete, plywood or timber | More suitable for DIY | Boards join together but are not fixed to the subfloor |
| Glue-down | Products approved for adhesive installation | Usually concrete or plywood | Intermediate to professional | Adhesive and working time must match the product |
| Nail/staple-down | Tongue-and-groove boards approved for fixing | Timber or plywood | Experienced DIY or professional | Requires the correct flooring nailer or stapler |
Floating is usually the simplest option for homeowners researching how to fit engineered wood flooring. Glue-down needs a very flat base, while nail or staple installation is generally limited to suitable timber subfloors and specialist equipment
Tools and Materials You’ll Need
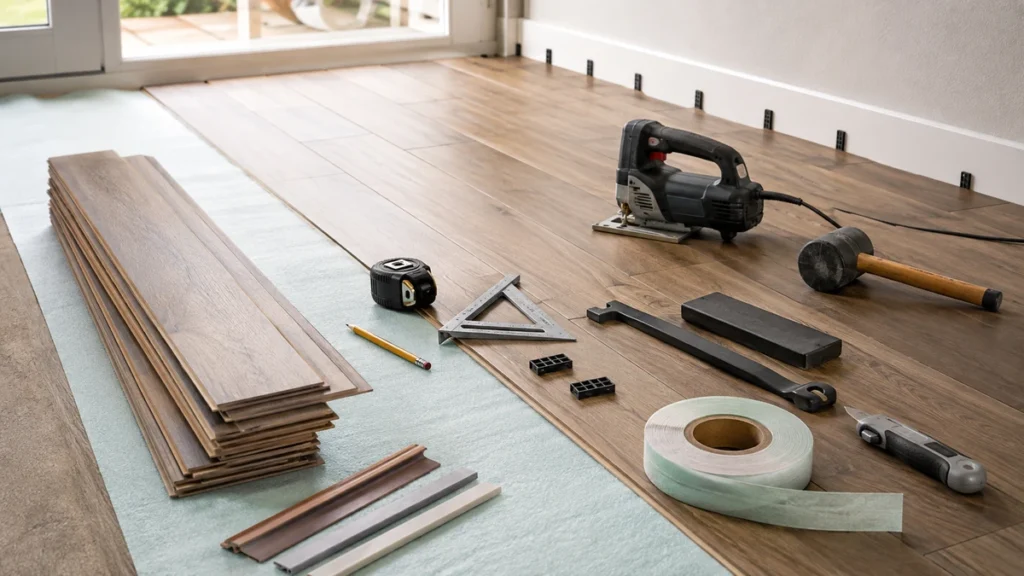
Common tools: Prepare a tape measure, pencil, square, straightedge, spacers, tapping block, pull bar, rubber mallet, utility knife and a saw suitable for clean flooring cuts. A jigsaw helps around pipes and door frames. A moisture meter, long level, vacuum, eye protection and dust mask are also useful.
Method-specific materials: A floating floor may need underlay, a vapour barrier, seam tape and transition profiles. Glue-down work requires approved adhesive and a notched trowel. Nail or staple installation needs compatible fasteners and a flooring nailer
Prepare the Flooring, Room and Subfloor
1. Inspect and Acclimate the Flooring
Inspect the packs for damage, colour variation and visible defects. Store them flat in the room, away from damp walls, direct sunlight and strong heat. Follow the manufacturer’s acclimation instructions instead of assuming every floor needs the same period.
The room should be enclosed, dry and close to its normal temperature and humidity. Wet work must be complete and dry. Mix boards from several packs to distribute natural variation
2. Check the Subfloor
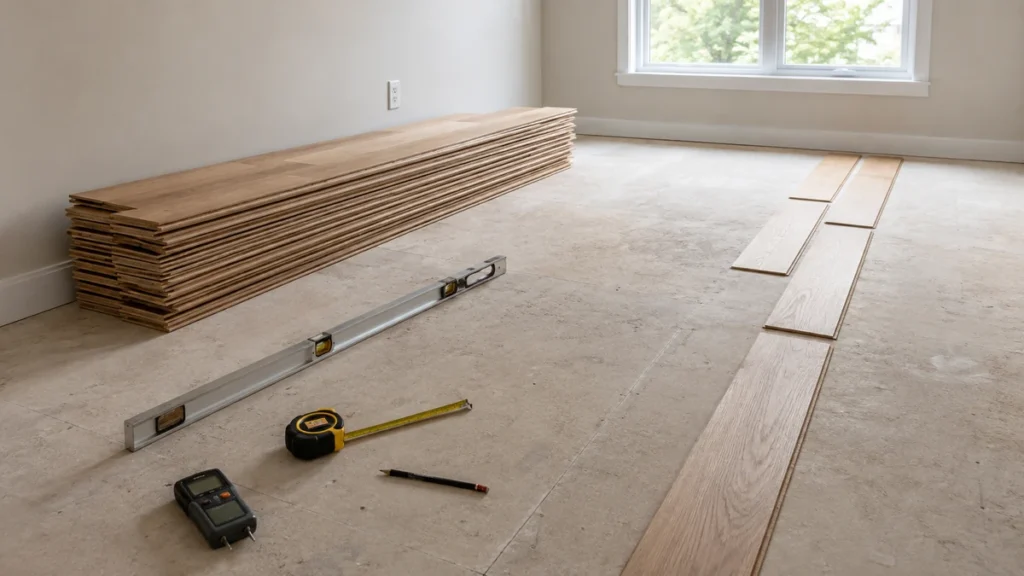
A reliable engineered wood flooring installation needs a subfloor that is clean, dry, stable and flat. Remove dust, loose material, paint lumps and protruding fixings. Correct high spots, low areas and movement before laying engineered hardwood.
Test moisture appropriately. Concrete may require a vapour-control layer, while plywood and timber should be checked for dampness, loose panels and deflection. Underlay cannot repair a seriously uneven base
3. Plan the Layout Before Cutting
Measure the room in several places because walls are rarely parallel. Decide the board direction and calculate the widths of the first and final rows. If the last row would be a narrow strip, rip-cut the first row so both sides are better balanced.
Plan doorways, pipes, transitions and fixed units in advance. Use a straight reference line rather than trusting the wall
How to Lay a Floating Engineered Hardwood Floor
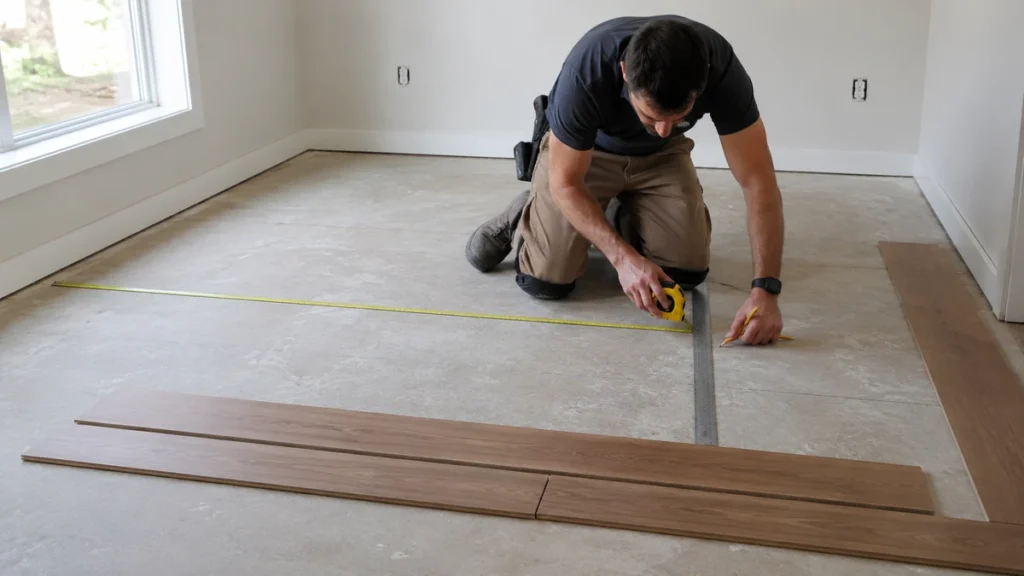
1- Measure the Room and Plan the First and Last Rows
Calculate the usable width after subtracting the expansion gaps. Divide it by the board width to estimate the final row. Adjust the first row if necessary. Avoid tiny end pieces by changing the starting-board length while respecting the manufacturer’s minimum length
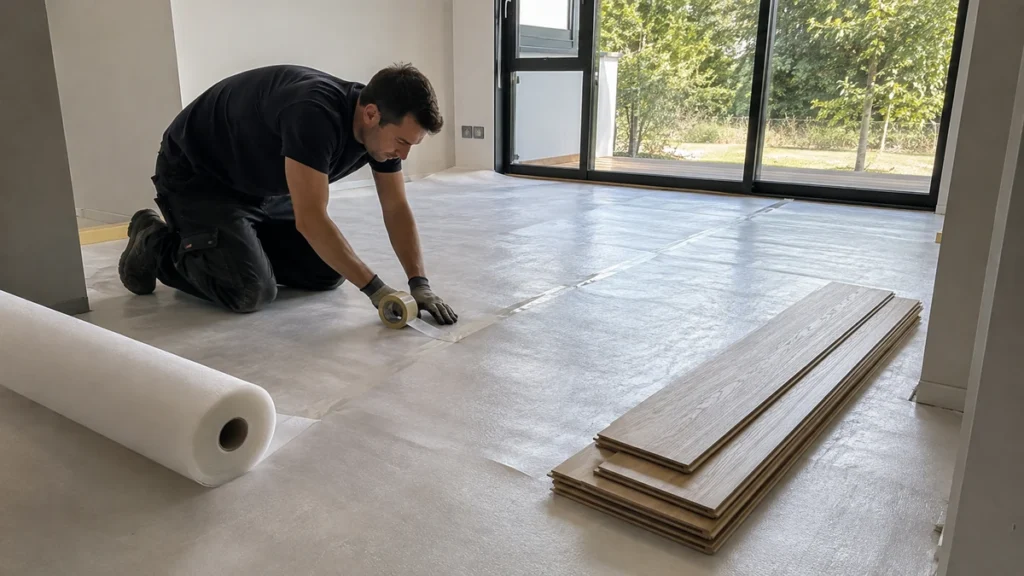
2- Install the Vapour Barrier or Underlay
Choose an underlay approved for the flooring, subfloor and any underfloor heating. Concrete commonly needs moisture protection, although some underlays include an integrated vapour layer.
Lay each section flat and tape the seams as instructed. Do not overlap it unless required. Remove dust and offcuts because trapped debris can cause noise and unevenness
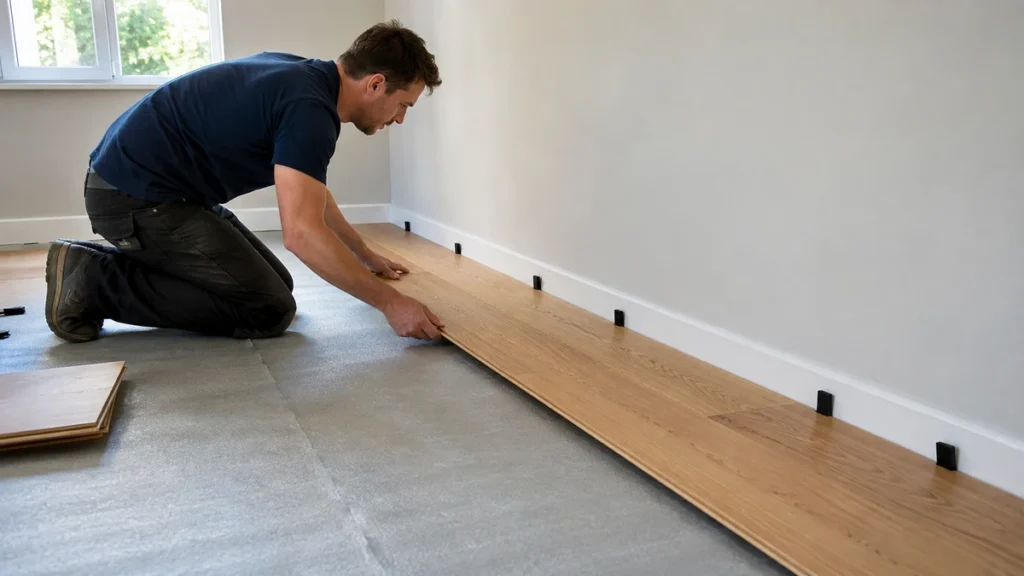
3- Set Out the First Row
Position spacers along the wall to create the specified expansion gap. Follow a chalk line or straight reference so an uneven wall does not distort the installation. Check the required tongue-and-groove orientation.
Connect the first boards end to end and keep the joints fully closed. A misaligned first row will affect every row that follows
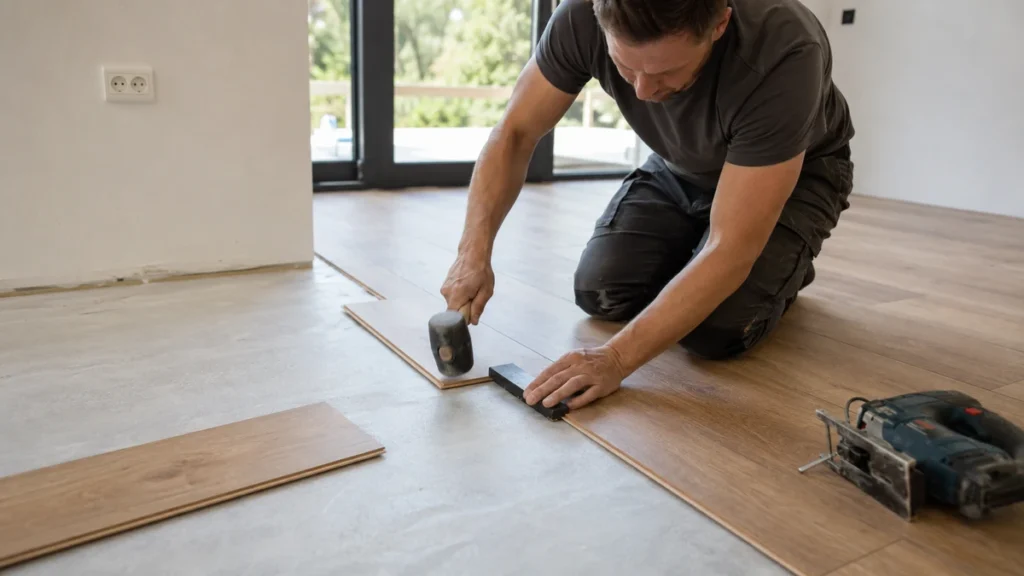
4- Connect and Cut the Boards
Engage each board as shown in the product instructions. Use a tapping block only where permitted, and never strike an exposed tongue, groove or finished edge directly.
At the row end, measure the remaining space and subtract the expansion gap before cutting. Use the correct board-face orientation for your saw to limit chipping. A sufficiently long offcut can begin the next row
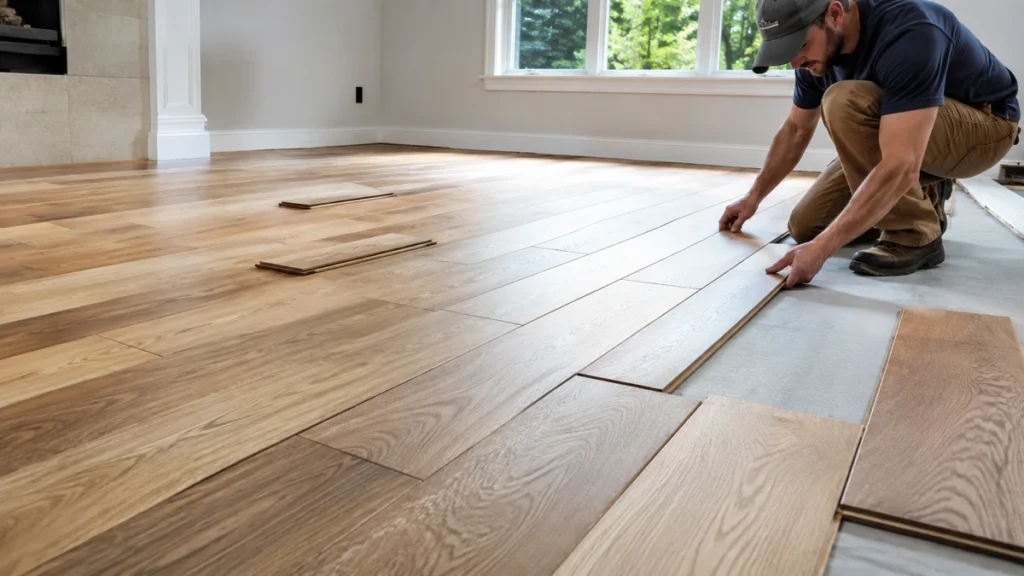
5- Stagger the End Joints
Maintain the manufacturer’s minimum distance between neighbouring end joints. A varied layout usually looks more natural than a rigid pattern.
Avoid H-joints, aligned end joints and repetitive staircases. These make laying engineered wood flooring look amateur and may concentrate stress around the click connections
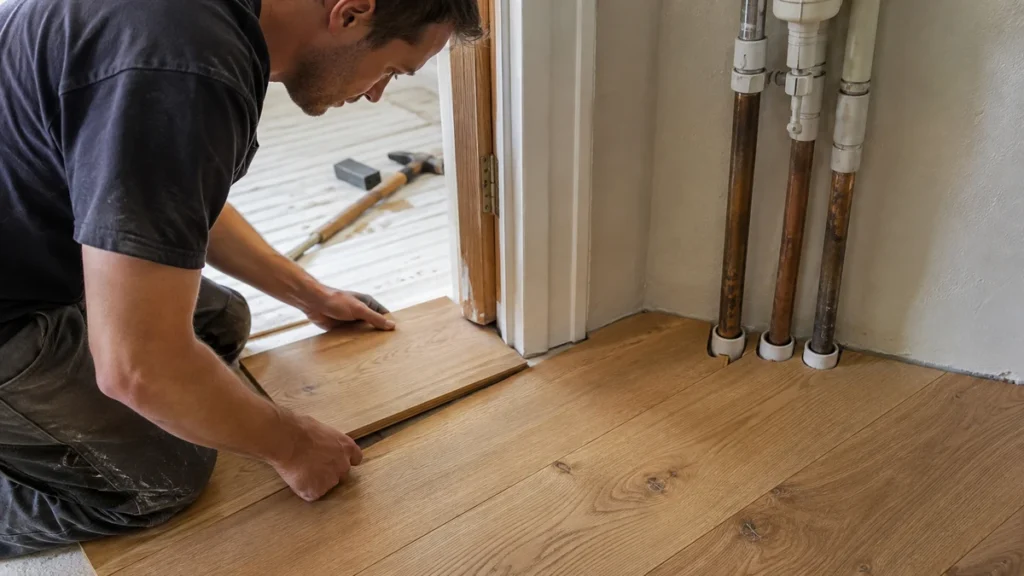
6- Work Around Door Frames, Pipes and Fixed Objects
Undercut door casings so the boards can slide beneath them while retaining movement space. Use an offcut placed over the underlay as a height guide.
Around pipes, drill an oversized hole, then cut from the board edge to the hole. Cover the finished gap with a pipe collar. Do not trap a floating floor beneath fixed cabinets, islands or partitions unless the manufacturer permits it
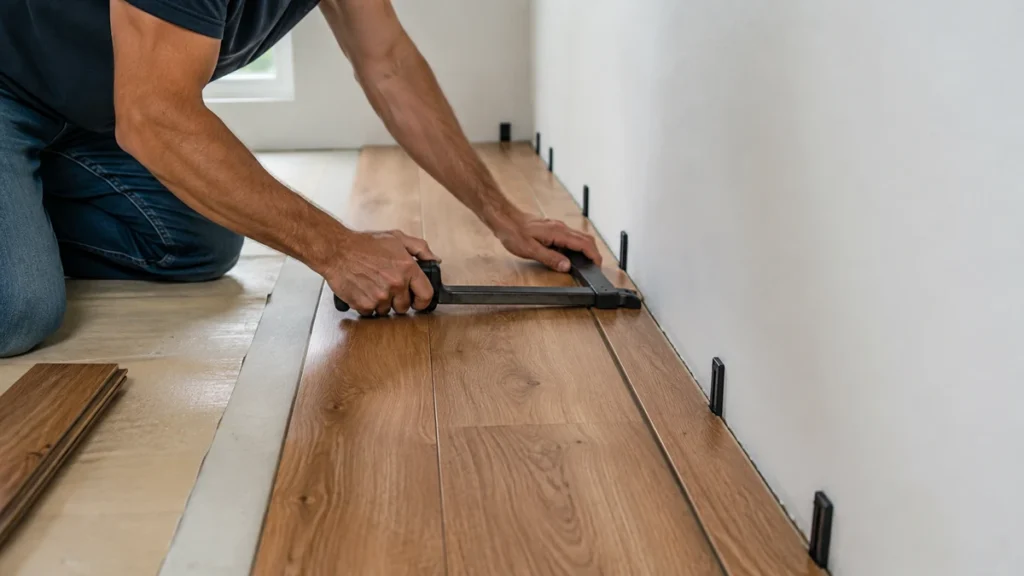
7- Cut and Fit the Final Row
Measure the remaining width at several points, subtract the expansion gap and transfer the wall shape to the boards. Rip-cut them lengthwise and use a pull bar to close the joints.
Do not nail or glue the final row to the subfloor. A floating floor must remain free to expand and contract
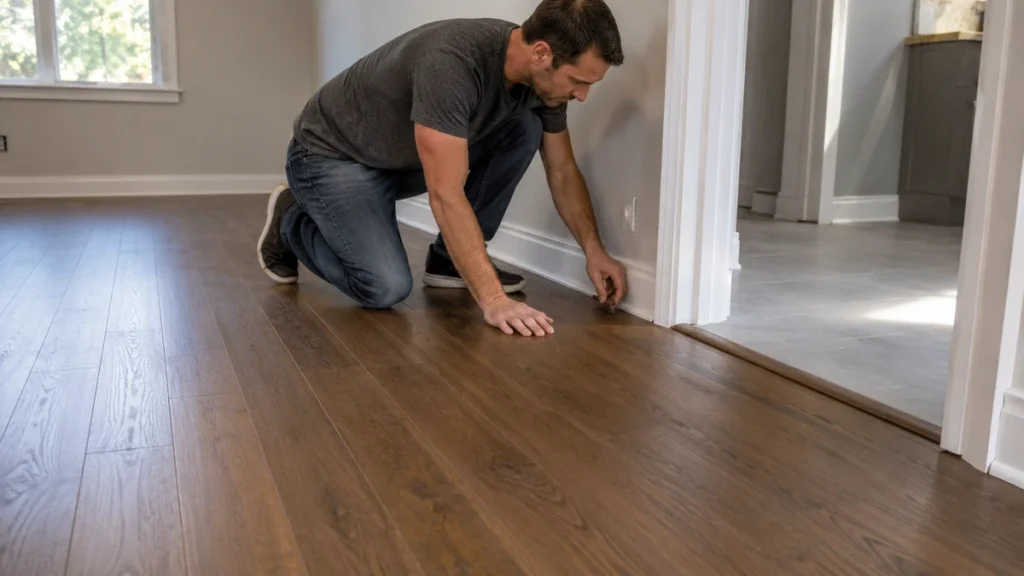
8- Remove Spacers and Install Transitions
Remove every spacer after the surface is complete. Install profiles at doorways, changes of floor covering and other required breaks. Fix profiles to their track or the subfloor, not through the boards.
Large rooms or continuous runs may need extra expansion joints, so check the product’s maximum dimensions
Finish the Floor Correctly
Inspect the surface for open joints, damaged edges and boards that do not sit correctly. Resolve these issues before installing trims. Fix skirting or scotia to the wall, leaving the floor free underneath; never drive fixings through the boards.
Check door clearance, fit transitions and place felt pads beneath furniture. Whether the product is straight plank or engineered wood parquet, poor finishing can undo careful work
Common Mistakes That Cause Gaps, Creaks or Buckling
The biggest mistake when installing engineered wood flooring is covering an unsuitable subfloor. Excess moisture may cause swelling, while unevenness can create bounce, creaks and damaged click joints.
Other failures include using the wrong underlay, omitting required moisture protection, leaving too little expansion space and trapping the floor beneath fitted objects. Skirting and transitions must never pin a floating floor down.
Open joints often come from debris in the locking profile, damaged edges or boards that were not fully connected. Do not solve gaps by hitting the boards harder. Separate them, inspect the joint, remove debris and reconnect them correctly. Expensive wood flooring will not compensate for rushed preparation
FAQs
Can Engineered Hardwood Flooring Be Installed Over Concrete?
Yes. Many products can be floated or glued over concrete if the slab is dry, clean, stable and flat. Moisture testing and the correct vapour-control system are essential. Confirm that the product and method are approved for concrete
Do You Need Underlay Under Engineered Hardwood Flooring?
A floating floor normally needs compatible underlay unless an approved layer is already attached. Glue-down and nail-down methods generally do not use standard floating underlay. The wrong product can create movement, noise or poor heat transfer
How Long Should Engineered Hardwood Acclimate?
There is no universal period. It depends on the product construction, packaging and room conditions. Follow the manufacturer’s written guidance and make sure the room has reached normal living conditions
Which Direction Should Engineered Wood Flooring Run?
Boards are commonly laid parallel to the longest wall or toward the main natural light source. Room shape, entrances and sightlines may justify another direction. Timber subfloor construction can also affect what is permitted
Can Engineered Hardwood Be Installed Over Underfloor Heating?
Many engineered products are compatible, but approval must be confirmed. The heating system, underlay or adhesive, maximum surface temperature and startup procedure must match the flooring specification. Change temperatures gradually.
Knowing how to put down engineered hardwood flooring is not mainly about clicking boards together. A durable result comes from moisture control, a flat base, accurate planning and uninterrupted expansion space