
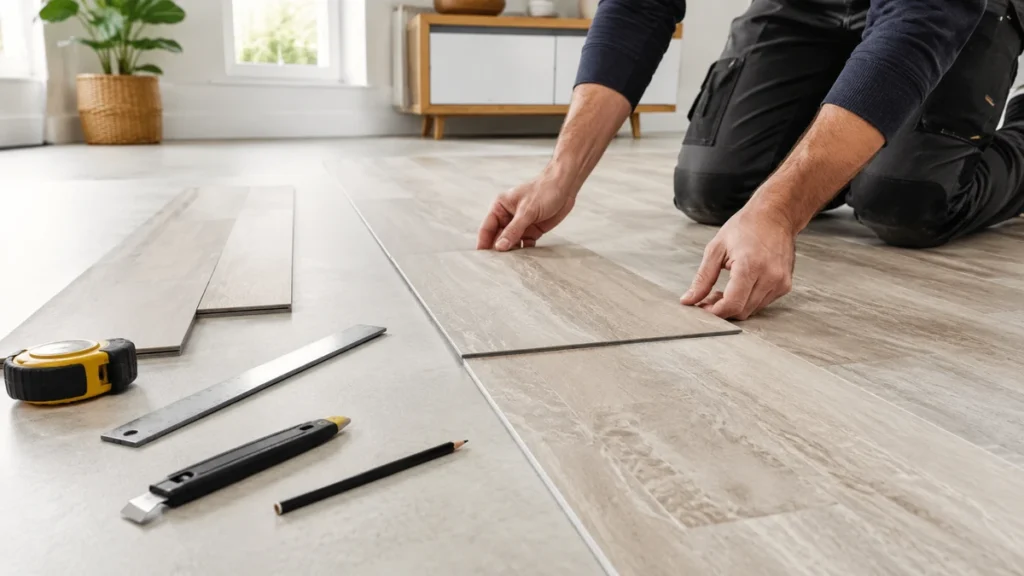
How to Install Vinyl Tiles: A Step-by-Step Guide
Vinyl tiles are one of the most practical flooring choices for homeowners, renters, and commercial spaces that need a durable surface without the cost or complexity of traditional flooring. They are popular because they are water-resistant, easy to clean, available in many designs, and suitable for both small DIY projects and professional installations.
If you want to know how to install vinyl tiles correctly, the most important part is not just placing the tiles on the floor. The real work starts with preparing the subfloor, measuring the room, planning the layout, and choosing the right type of vinyl tile for the space. A rushed installation can lead to lifting edges, visible gaps, uneven lines, and poor long-term performance.
This guide explains how to install vinyl tile flooring step by step, including peel-and-stick tiles, glue-down tiles, and luxury vinyl tile options. It is written for beginners who want a clear process before starting the job
How Do You Install Vinyl Tiles
To install vinyl tiles, start by preparing a clean, dry, smooth, and level subfloor. Measure the room carefully, mark the centre lines, and dry-lay a few tiles to check the layout before fixing anything permanently. Depending on the tile type, you will either peel off the backing, apply flooring adhesive, or use the recommended LVT installation method. Lay each tile firmly in position, keep the edges aligned, and cut border tiles neatly with a utility knife. After installation, roll the floor if required, clean away adhesive residue, and allow the floor to settle before heavy use.
The short version is simple: prepare the surface properly, plan the layout, install the tiles carefully, and give the floor enough time before moving furniture back. Most failed vinyl floors are not caused by the tile itself. They fail because the subfloor was dirty, uneven, damp, or poorly prepared
Before You Start: Are Vinyl Tiles Right for Your Room
Vinyl tiles can be used in many areas of the home because they handle daily wear well and are easier to maintain than many natural flooring materials. They are especially useful in kitchens, bathrooms, laundry rooms, hallways, rental properties, offices, and retail spaces.
However, not every room is automatically suitable. Moisture levels, sunlight exposure, subfloor condition, and traffic should all be checked before laying vinyl floor tiles
| Room | Suitable? | Notes |
|---|---|---|
| Kitchen | Yes | Good water resistance and easy cleaning make vinyl practical. |
| Bathroom | Yes | Suitable if edges and joints are fitted correctly. |
| Bedroom | Yes | Comfortable, quiet, and easy to maintain. |
| Living Room | Yes | Works well, especially with luxury vinyl tile designs. |
| Basement | Usually | Only if the subfloor is dry and moisture is controlled. |
| Balcony / Outdoor Area | No | Most vinyl tiles are not designed for outdoor exposure. |
| Commercial Space | Yes | Choose thicker wear layers for heavy foot traffic. |
If the room has serious moisture problems, unstable flooring, or extreme heat exposure, fix those issues before installation. Ignoring them is asking for problems later
Types of Vinyl Tiles You Can Install
Peel-and-Stick Vinyl Tiles
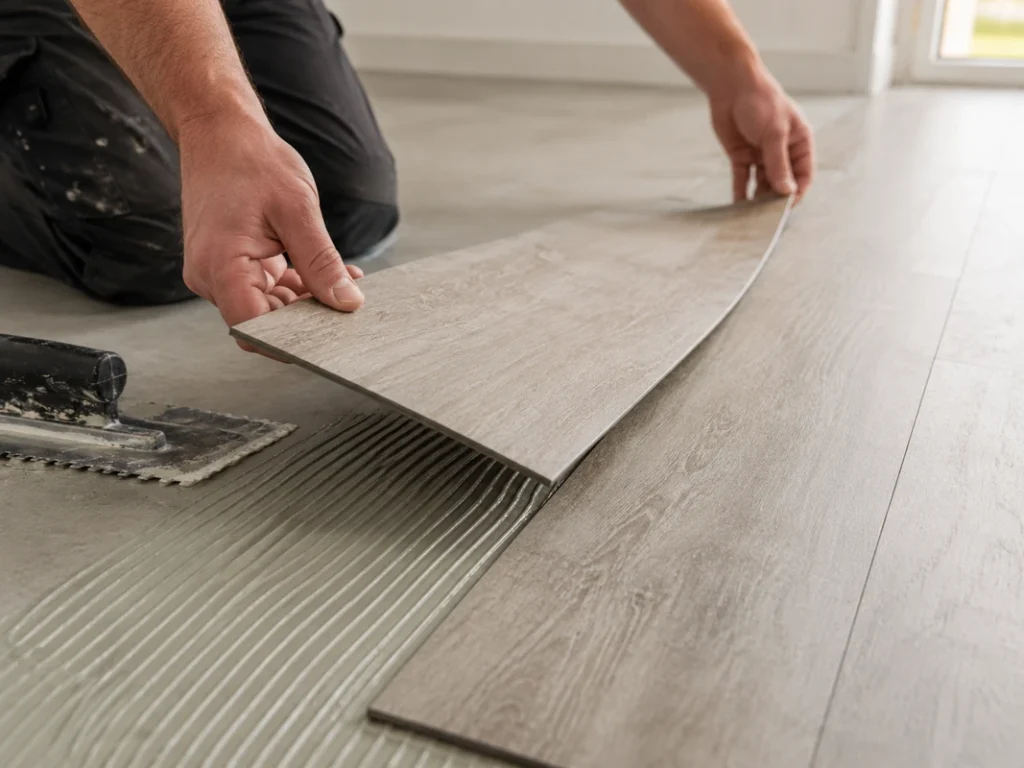
Peel-and-stick vinyl tiles are the easiest option for DIY installation. Each tile comes with a self-adhesive backing. You remove the protective film and press the tile directly onto the prepared floor.
This type is best for small rooms, quick renovations, rental spaces, and budget-friendly updates. The weakness is that it depends heavily on surface preparation. If the floor is dusty, uneven, damp, or greasy, the tiles may lift
Glue-Down Vinyl Tiles
Glue-down vinyl tiles require adhesive spread across the subfloor before the tiles are laid. They take more effort but usually provide a stronger and more stable result.
This option is better for larger rooms, commercial areas, and spaces with more foot traffic. The installation must be accurate because once adhesive starts setting, mistakes become harder to fix
Luxury Vinyl Tile / LVT Flooring
Luxury vinyl tile is a higher-quality vinyl flooring option designed to look like stone, ceramic, or wood flooring. It often has a thicker construction, better surface texture, and stronger durability than basic vinyl tiles
LVT flooring fitting may involve glue-down, click-lock, or loose-lay systems depending on the product. Always follow the manufacturer’s instructions because installation methods can vary. This is where many DIY guides become too generic and misleading
How to Prepare the Subfloor Before Laying Vinyl Floor Tiles
Remove or Secure Old Flooring
Before installing vinyl tiles, inspect the existing floor. Loose carpet, damaged laminate, unstable wood boards, or broken tiles should not be used as a base. Remove anything that moves, cracks, or creates an uneven surface.
In some cases, vinyl can be installed over old tiles or existing hard flooring, but only if the surface is flat, secure, and clean. Deep grout lines may need to be filled because they can show through the new floor over time
Clean, Dry and Level the Surface
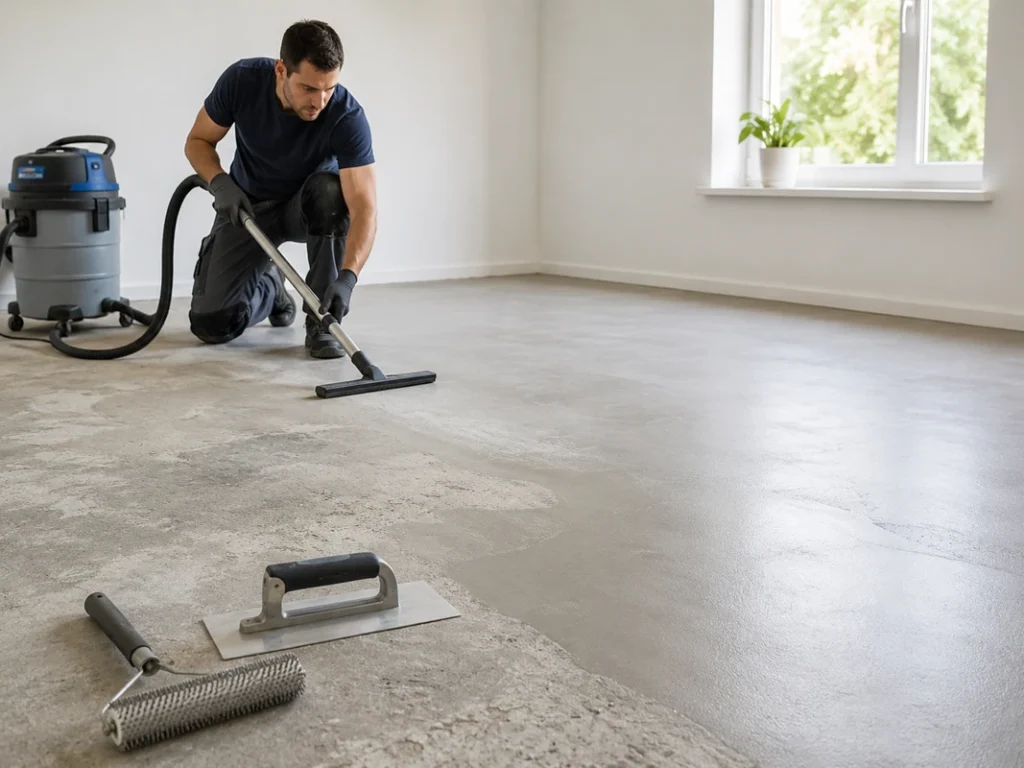
The subfloor must be clean, dry, smooth, and level. Sweep, vacuum, and remove grease, paint, dust, old adhesive, and debris. Even small bumps can affect how the tiles sit.
Use a levelling compound if the floor has dips or uneven areas. For glue-down and peel-and-stick tiles, this step is critical. Vinyl is flexible, so it can reveal imperfections underneath
Prepare Timber Floors Properly
Timber floors can move, expand, or create gaps. If you are installing over wooden boards, secure any loose boards first. Then install a suitable plywood underlayment if needed to create a smooth and stable surface.
Do not lay vinyl directly over damaged, uneven, or flexible timber boards. The floor may look acceptable on day one, but it can fail once movement starts underneath
Let the Vinyl Tiles Acclimate
Vinyl tiles should usually be left in the room before installation so they can adjust to the temperature and humidity. This is called acclimation.
Place the boxes flat in the room for the time recommended by the manufacturer, often 24 to 48 hours. Do not store them in a cold garage and install them immediately. That is a lazy mistake, and it can cause expansion, contraction, or gaps
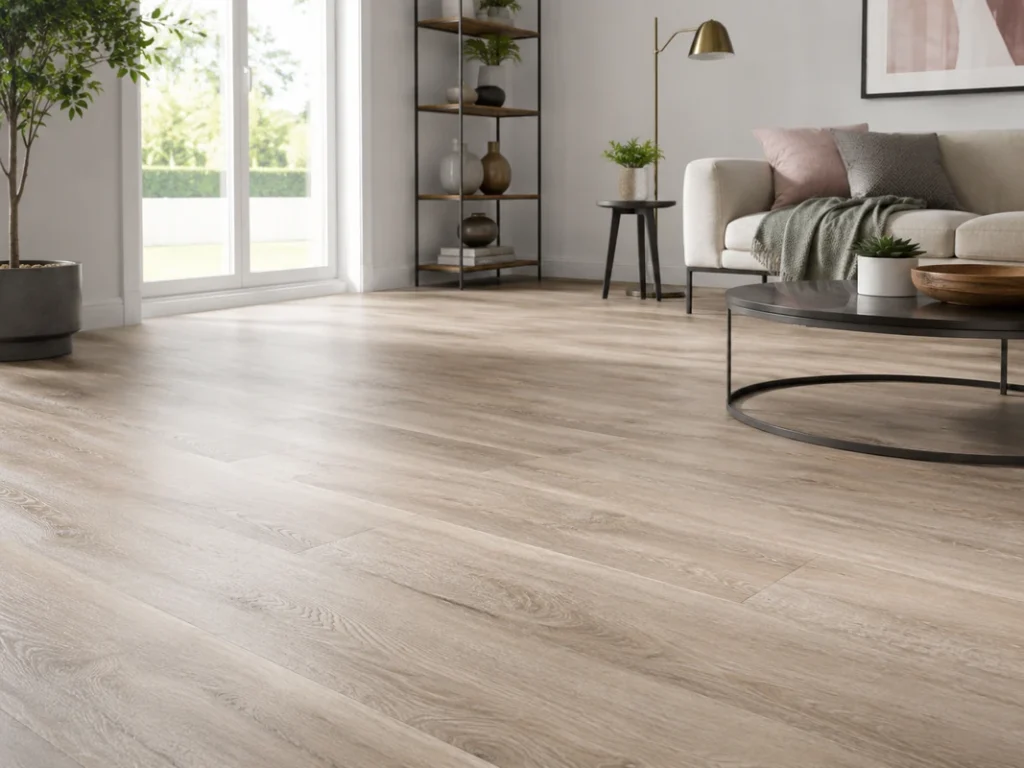
How to Measure and Plan the Layout
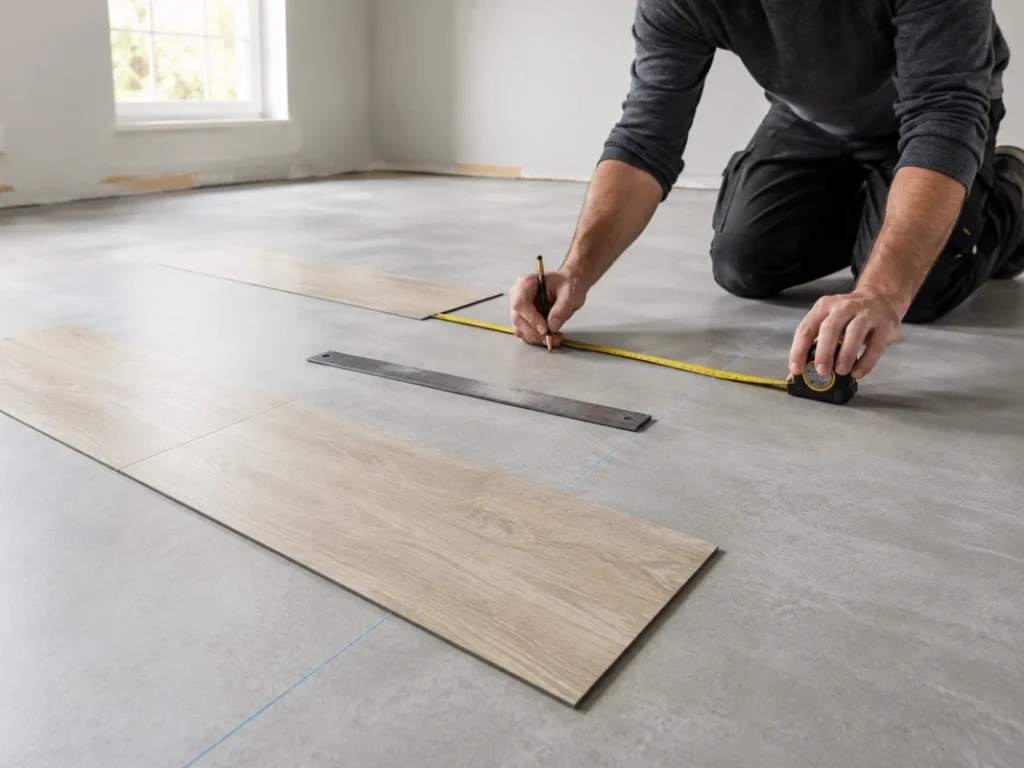
Measure the length and width of the room to calculate the total area. Add extra material for cuts, waste, and mistakes. A safe allowance is usually around 10%, but rooms with many corners may need more.
Next, find the centre of the room by measuring each wall and marking centre points. Snap or draw two lines that cross in the middle of the room. This helps you keep the layout straight.
Dry-lay a row of tiles without adhesive to check how the tiles will look near the walls. Avoid ending with very thin strips at the edges, because they look poor and are harder to fit. Adjust the starting line slightly if needed.
Good layout planning is what separates a professional-looking floor from a cheap-looking one. Do not skip it
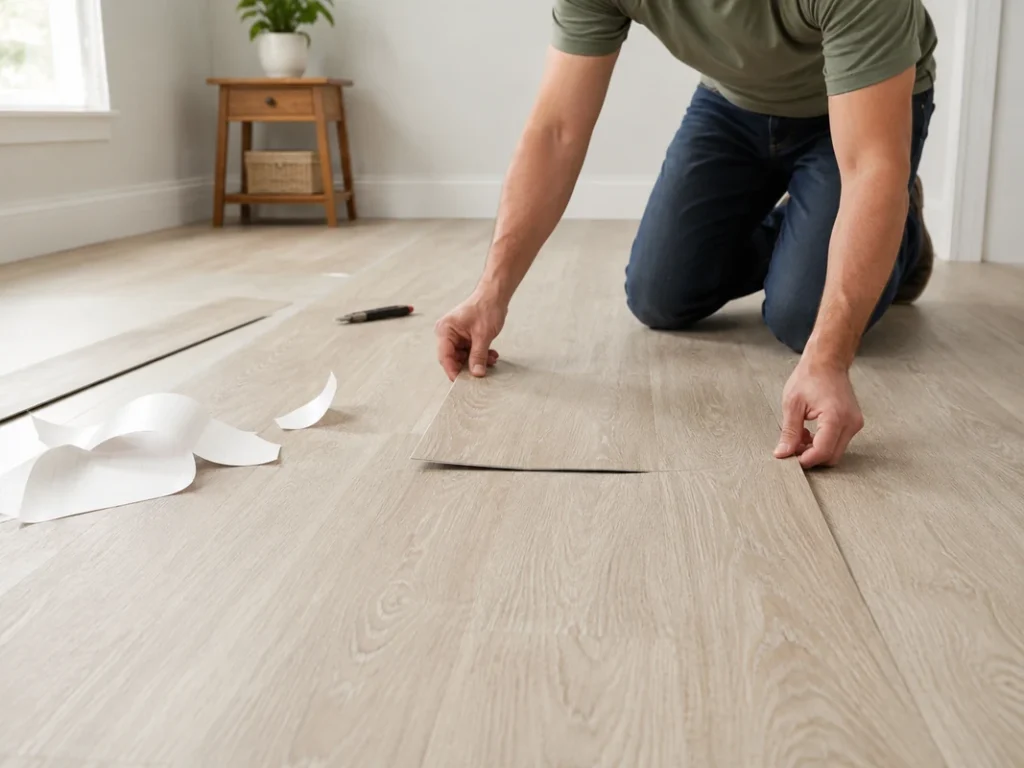
How to Lay Vinyl Tile: Step-by-Step Installation
- Prepare the room
Remove furniture, doors if needed, skirting trims, and obstacles. Make sure the room is clean and well-lit - Check the subfloor
Confirm the floor is dry, flat, stable, and clean. Repair cracks, fill gaps, and level uneven areas - Mark your layout lines
Use a tape measure and chalk line to mark the centre of the room. Keep your first rows straight because every other tile will follow them. - Dry-lay test tiles
Place a few tiles along your layout lines without fixing them. Check spacing, edge cuts, and overall appearance. - Start from the centre or main visible line
For many rooms, starting from the centre gives a balanced look. In some small rooms, you may start from a straight wall, but only if the wall is actually square. - Install the first tile carefully
For peel-and-stick tiles, remove the backing and press the tile firmly into place. For glue-down tiles, spread adhesive according to the product instructions and place the tile into the adhesive bed. - Continue laying tiles row by row
Keep tiles tight to each other without forcing them. Check alignment regularly. Small errors become big errors across the room. - Cut edge tiles
Measure the gap near the wall, mark the tile, score it with a sharp utility knife, and snap it cleanly. For detailed cuts around pipes or corners, use a template. - Press or roll the floor
Many vinyl floor tiles need firm pressure after installation. A floor roller helps bond the tile properly, especially for glue-down products. - Clean and allow setting time
Wipe away adhesive residue before it dries. Avoid heavy furniture, washing, or heavy traffic until the floor has set according to the manufacturer’s guidance
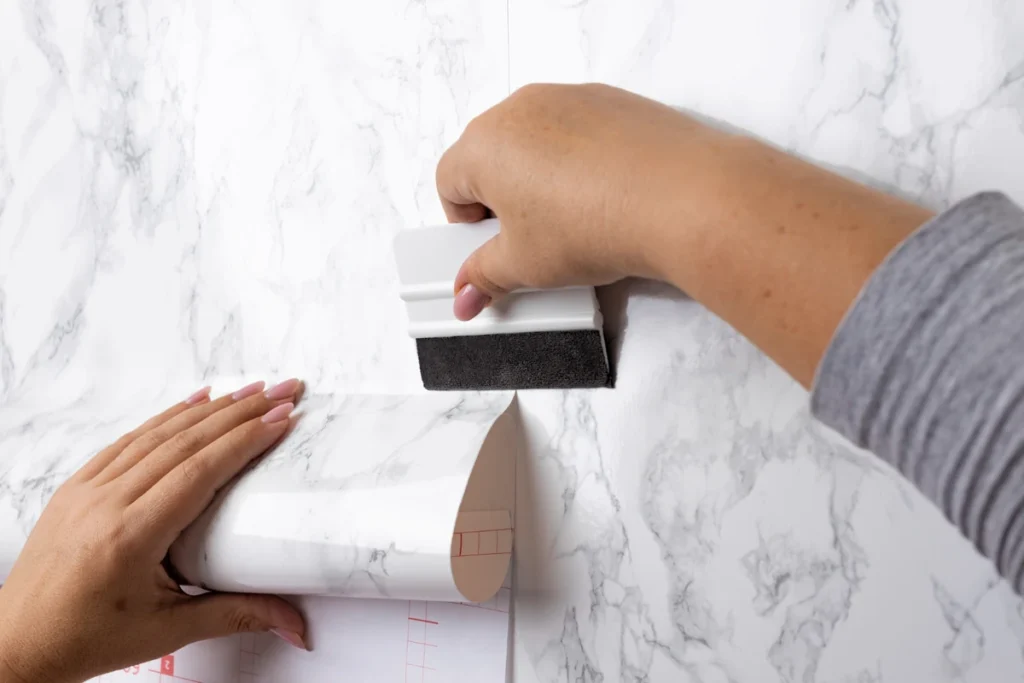
Installing Peel-and-Stick vs Glue-Down Vinyl Tiles
| Feature | Peel-and-Stick | Glue-Down |
|---|---|---|
| Difficulty | Easier for beginners | Needs more skill and care |
| Adhesive | Built into the tile | Separate adhesive required |
| Best For | Small rooms and light use | Larger rooms and heavy traffic |
| Installation Speed | Faster | Slower |
| Durability | Good if surface is well prepared | Usually stronger long term |
| DIY Friendly | Very DIY friendly | DIY possible, but less forgiving |
| Common Problem | Lifting edges | Adhesive mistakes or uneven spread |
| Cost | Usually lower | May cost more due to adhesive and tools |
Peel-and-stick is convenient, but glue-down usually performs better when installed properly. For premium projects, commercial spaces, or long-term use, glue-down vinyl or professional LVT flooring fitting is often the smarter choice
How Long Does It Take to Install Vinyl Tiles?
The time depends on room size, tile type, subfloor condition, and your experience. A small bathroom or utility room may take a few hours if the floor is already prepared. A larger kitchen, hallway, or open-plan room may take a full day or more.
The biggest time consumer is usually preparation, not installation. Cleaning, levelling, removing old flooring, and planning the layout can take longer than laying the tiles themselves.
As a rough guide, a beginner should allow one full day for a small to medium room. If adhesive is involved, also allow proper drying or curing time before heavy use. Rushing this part is stupid. You may finish faster, but you will probably pay for it with lifting, movement, or poor bonding later
Conclusion
Learning how to install vinyl tiles is not difficult, but doing it well requires patience and proper preparation. The tile type matters, but the subfloor matters more. A clean, dry, smooth, and level base is the foundation of a good result.
Peel-and-stick tiles are suitable for quick DIY projects, while glue-down tiles and luxury vinyl tile products are better for stronger, longer-lasting installations. If you are working in a high-traffic room, bathroom, commercial space, or with expensive LVT products, consider whether professional installation is worth the cost.
The rule is simple: measure carefully, plan the layout, prepare the floor properly, and install each tile with attention. That is how you get a vinyl floor that looks clean, lasts longer, and does not start lifting after a few weeks
FAQs
Can I install vinyl tiles over old tiles?
Yes, you can install vinyl tiles over old tiles if the existing tiles are solid, level, clean, and not cracked. However, deep grout lines should be filled first. If the old tiles are loose or uneven, remove them before installation
Do vinyl tiles need underlay?
Most glue-down and peel-and-stick vinyl tiles do not need underlay. They usually require direct contact with a smooth subfloor. Some LVT flooring systems may use an underlay, but only if the manufacturer allows it
Should vinyl tiles be laid from the centre of the room?
In many rooms, yes. Starting from the centre helps create a balanced layout and prevents awkward narrow cuts along one wall. However, in small rooms or rooms with one main visible wall, the layout may be adjusted
Do I need adhesive for vinyl tiles?
It depends on the tile type. Peel-and-stick tiles already have adhesive backing. Glue-down vinyl tiles need separate flooring adhesive. Click-lock luxury vinyl tile usually does not need glue unless specified
Can I install vinyl tiles in a bathroom?
Yes, vinyl tiles can be installed in bathrooms because they are water-resistant. The subfloor must be dry and stable, and edges should be fitted carefully to reduce water getting underneath
Why are my vinyl tiles lifting?
Vinyl tiles usually lift because the subfloor was dirty, damp, uneven, dusty, or not properly prepared. Other causes include poor adhesive, no acclimation, heavy traffic too soon, or temperature changes
How do I cut vinyl tiles neatly?
Use a sharp utility knife and a straight edge. Score the surface firmly, then bend and snap the tile. For curved cuts around pipes, use a paper template before cutting the tile
Is LVT flooring fitting suitable for DIY?
Some LVT flooring fitting is suitable for DIY, especially click-lock systems. Glue-down LVT is harder and needs more precision. If the room is large, commercial, or has many cuts, professional fitting is usually the safer choice