
How to Remove Floorboards Safely: A Step-by-Step Guide
Removing floorboards can be straightforward, but the right technique depends on the flooring material and how it was installed. Nailed wooden boards require careful lifting, while floating laminate and glued-down flooring need different removal methods.
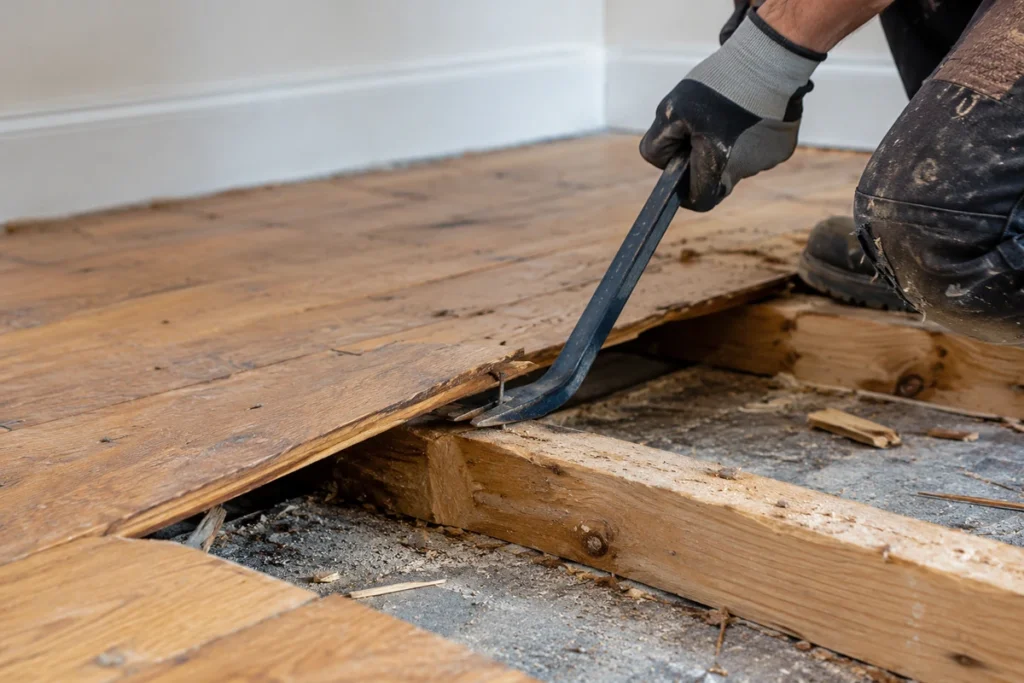
To remove floorboards safely, first identify how they are fixed, clear the working area, and locate any concealed pipes or electrical cables. For nailed boards, use a flat pry bar to lift gradually near the fixing points. For click-lock flooring, start at an accessible edge and separate the planks without forcing the joints.
This guide explains how to remove floorboards step by step, which tools to use, and how to minimize damage to the boards and subfloor
Before You Start: Identify the Flooring and How It's Fixed
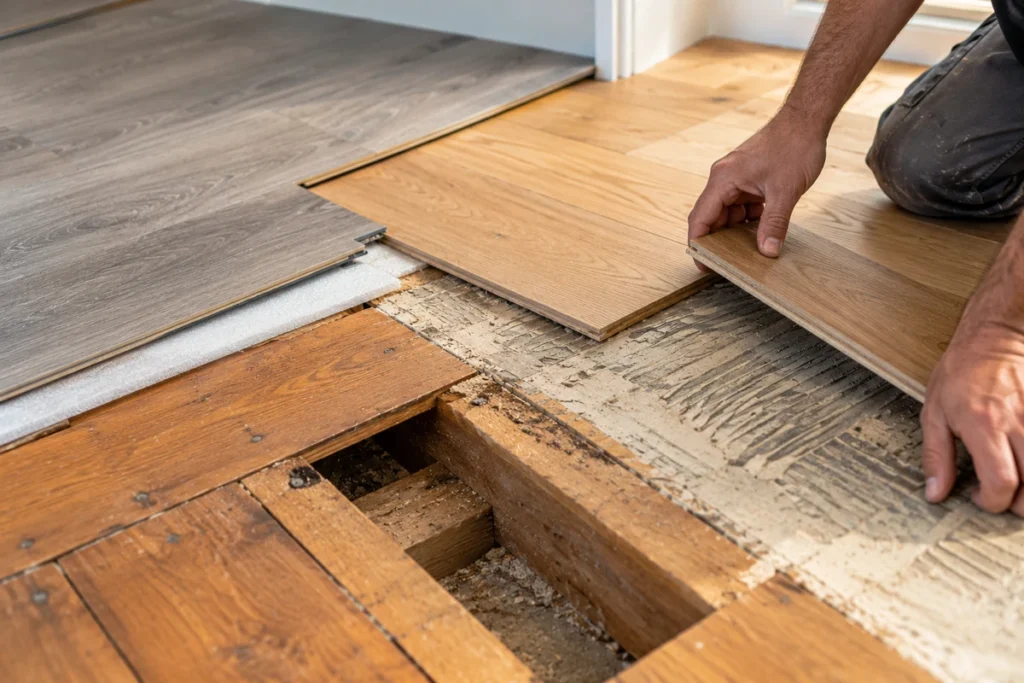
Before attempting to lift floorboards, identify the flooring material and installation method. These determine where to start and whether the boards can be removed intact.
Common flooring types include:
- Solid wood floorboards: Often nailed or screwed to timber joists or a wooden subfloor. Older boards may have concealed fixings or tongue-and-groove joints.
- Engineered wood: Can be installed using nails, adhesive, or a floating click-lock system, depending on the product.
- Laminate flooring: Usually installed as a floating floor with interlocking planks that can be separated from an accessible edge.
- Glued-down wood: Bonded directly to a prepared subfloor, making removal more difficult and potentially destructive.
Some engineered flooring products resemble solid wooden flooring, so appearance alone cannot confirm the installation method. Even premium European flooring can use different fixing systems.
Inspect an exposed edge, doorway, threshold, or expansion gap to identify how the boards connect. If the floor sits directly over concrete, as is common in many UAE properties, removal methods designed for boards fixed to timber joists may not apply
Tools and Safety Checks for Removing Floorboards
Having the correct equipment makes floorboard removal safer and reduces unnecessary damage.
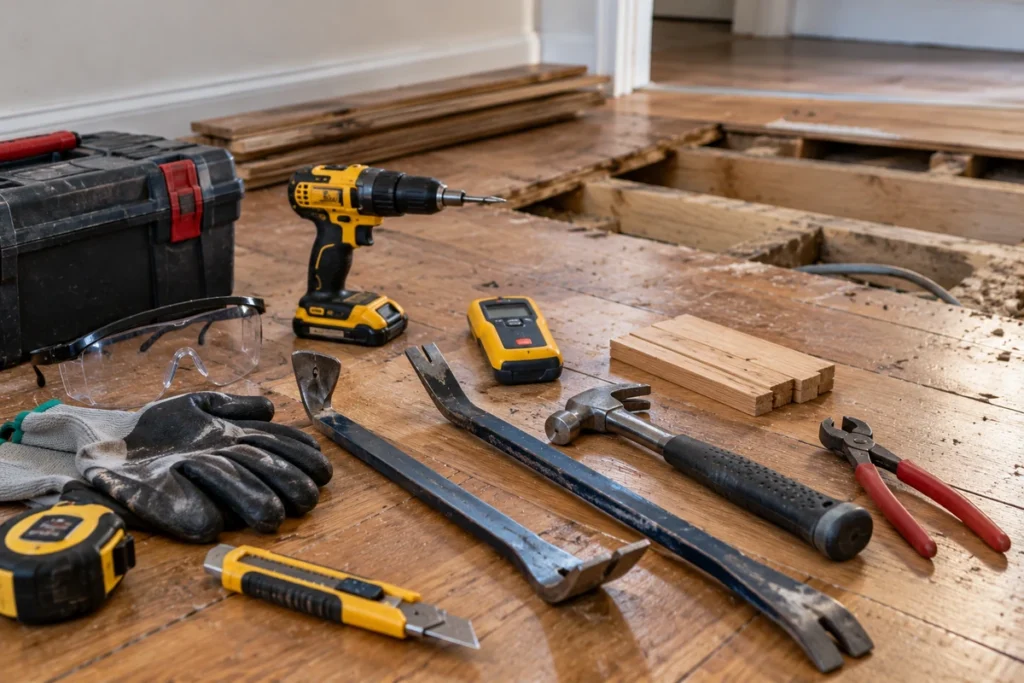
Recommended tools:
- Flat pry bar or specialized floorboard lifter
- Claw hammer and nail puller
- Wooden blocks to protect surrounding boards
- Utility knife for cutting sealant along edges
- Screwdriver or drill for removing screws
- Pliers for extracting exposed nails
- Safety glasses, work gloves, and protective footwear
- Suitable detector for locating concealed services
An oscillating multitool may help with stubborn fixings, but cutting tools should only be used where their cutting path has been confirmed safe.
Before starting, check for hidden hazards.
Electrical cables, plumbing pipes, and heating components may run beneath wooden floors. Review available service plans and inspect accessible areas before lifting boards. Detectors can help, but they cannot reliably identify every concealed hazard.
Never drive screws, drill, or cut blindly into a floor. If you cannot establish where services run, stop and consult a qualified professional.
Also inspect older flooring materials and adhesives. If you suspect asbestos-containing materials, avoid disturbing them and arrange appropriate professional assessment
How to Lift Nailed Wooden Floorboards: Step by Step
The following method explains how to lift floorboards secured with nails or screws to timber joists. It is particularly useful when removing old wood flooring for repairs, access, or replacement.
Step 1: Prepare the Area
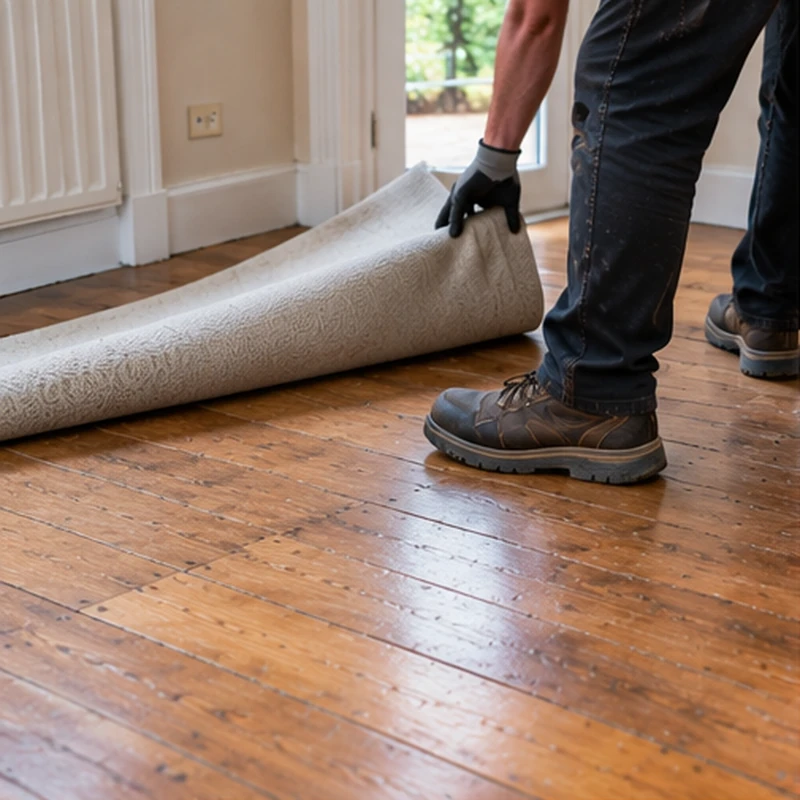
Remove furniture, rugs, and loose objects. Clean the floor so you can clearly see board edges and fixing points.
If the boards meet skirting boards or trim, carefully cut through any paint or sealant along the joint.
Identify which boards need removal and whether nearby flooring must remain undamaged.
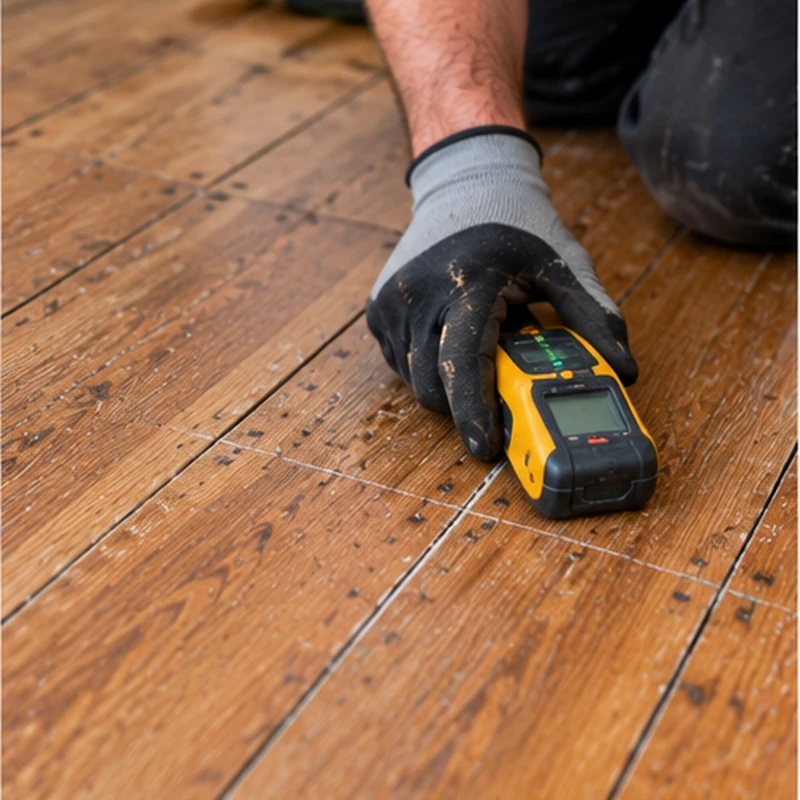
Step 2: Locate the Joists and Fixings
Look for rows of visible nail heads, screws, or filled fixing holes. These often indicate the positions of the timber joists beneath the floor.
Mark the likely fixing points before starting.
For concealed fixings, inspect an accessible board edge. Avoid assuming that every board is secured in the same way, especially in older properties that may have undergone repairs.
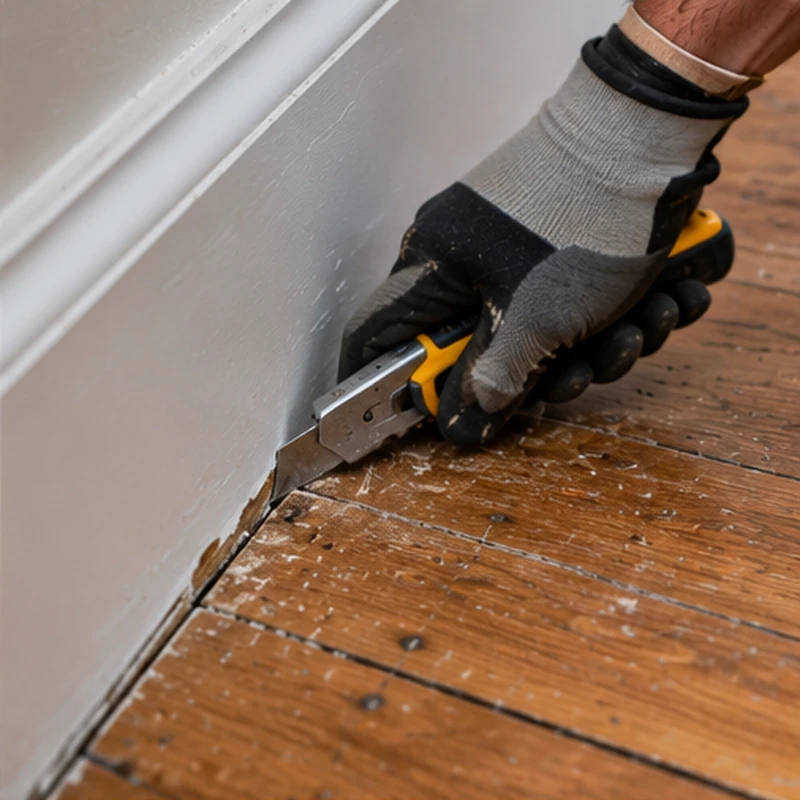
Step 3: Create a Starting Point
Begin at a loose board, accessible edge, or existing gap whenever possible.
Insert a thin pry bar into the joint and apply gentle pressure. Place a small wooden block beneath the tool to protect the neighboring surface.
If a tongue-and-groove joint prevents movement, the first board may require controlled cutting or sacrificing. Do not cut until the board thickness and location of concealed services are established.
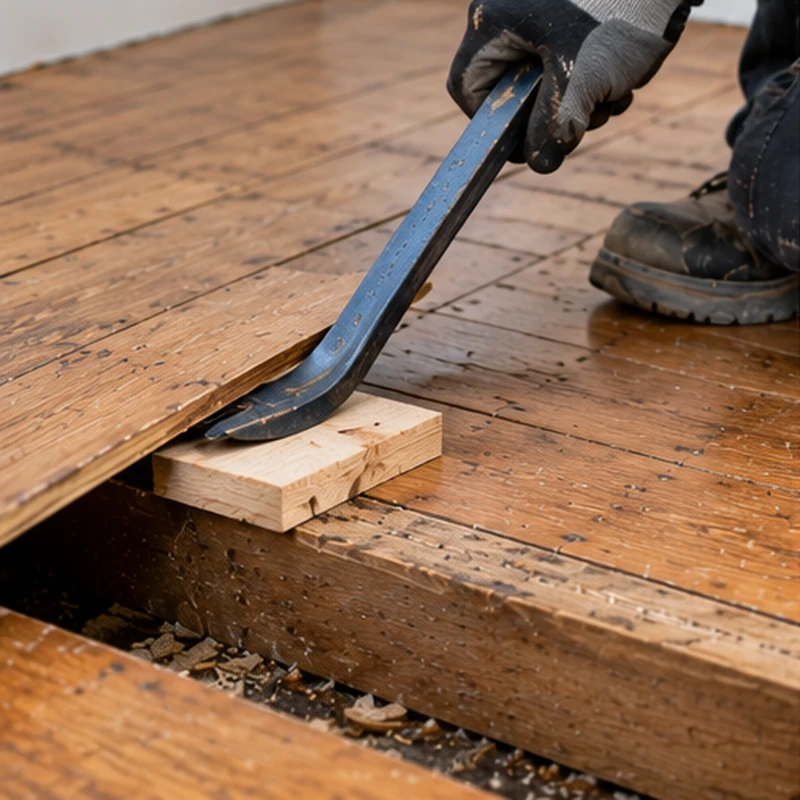
Step 4: Lift the Floorboard Gradually
Position the pry bar close to a joist or fixing point.
Apply steady upward pressure rather than forcing the board up in one movement.
Move along the board, lifting slightly at each fixing location. This distributes the force and reduces the likelihood of splitting the timber.
Avoid levering against unsupported sections or using adjacent boards as unprotected pivot points.
If the board resists, check for missed nails, screws, or interlocking joints before applying additional force.
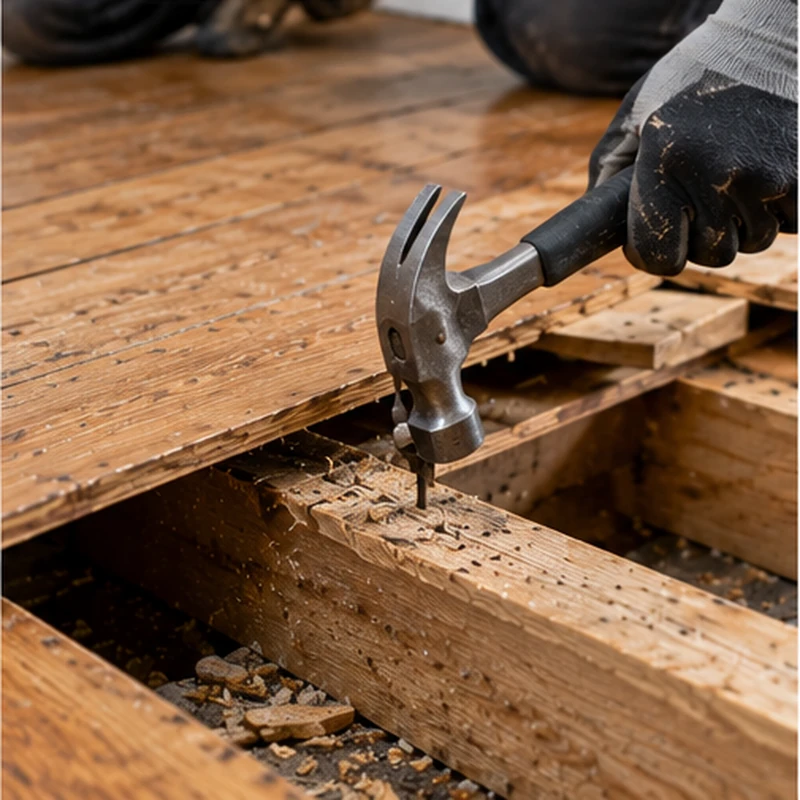
Step 5: Release Nails and Remove the Remaining Boards
As the board rises, identify the remaining fasteners.
Use a nail puller or claw hammer to remove accessible nails. Stubborn nails may need to be cut with an appropriate tool, provided the surrounding area is safe.
For tongue-and-groove boards, carefully free the joint before attempting complete removal.
Continue working systematically along the floor, rather than lifting multiple boards randomly.
Number reusable boards as you remove them so their original positions can be identified during reinstallation.
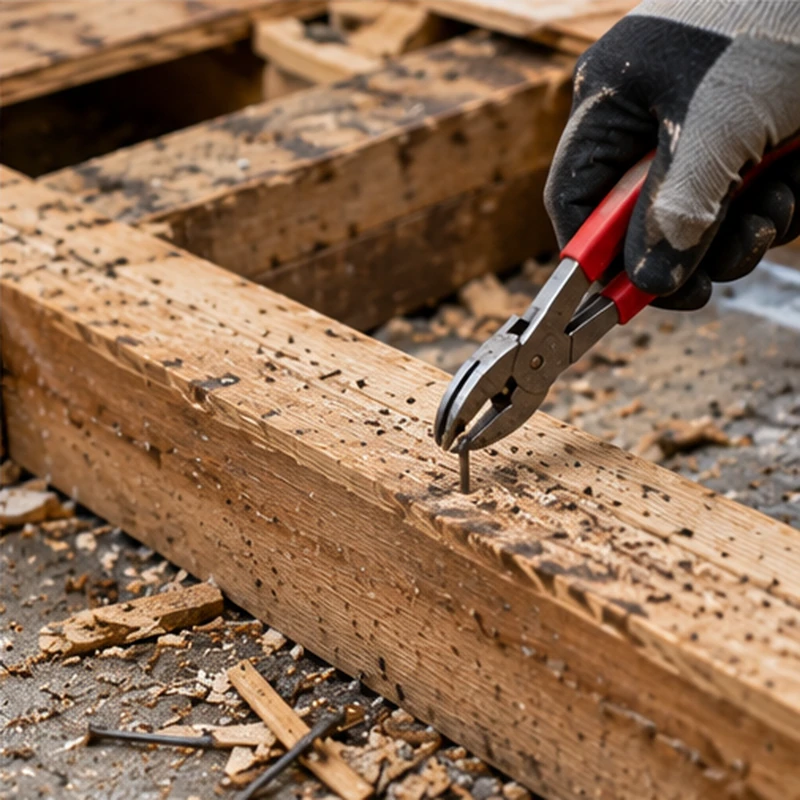
Step 6: Remove or Secure Exposed Fasteners
Once the floorboard is removed, inspect the joists and exposed surfaces.
Pull out protruding nails and remove leftover screws. Where necessary, safely cut inaccessible fasteners flush.
Collect sharp debris immediately and keep the working area clear.
If the opening exposes a floor void, secure or cover it to prevent accidental falls until the flooring is reinstated.